Belt Lipectomy Patient 11
Back To Body Lift / Belt Lipectomy Gallery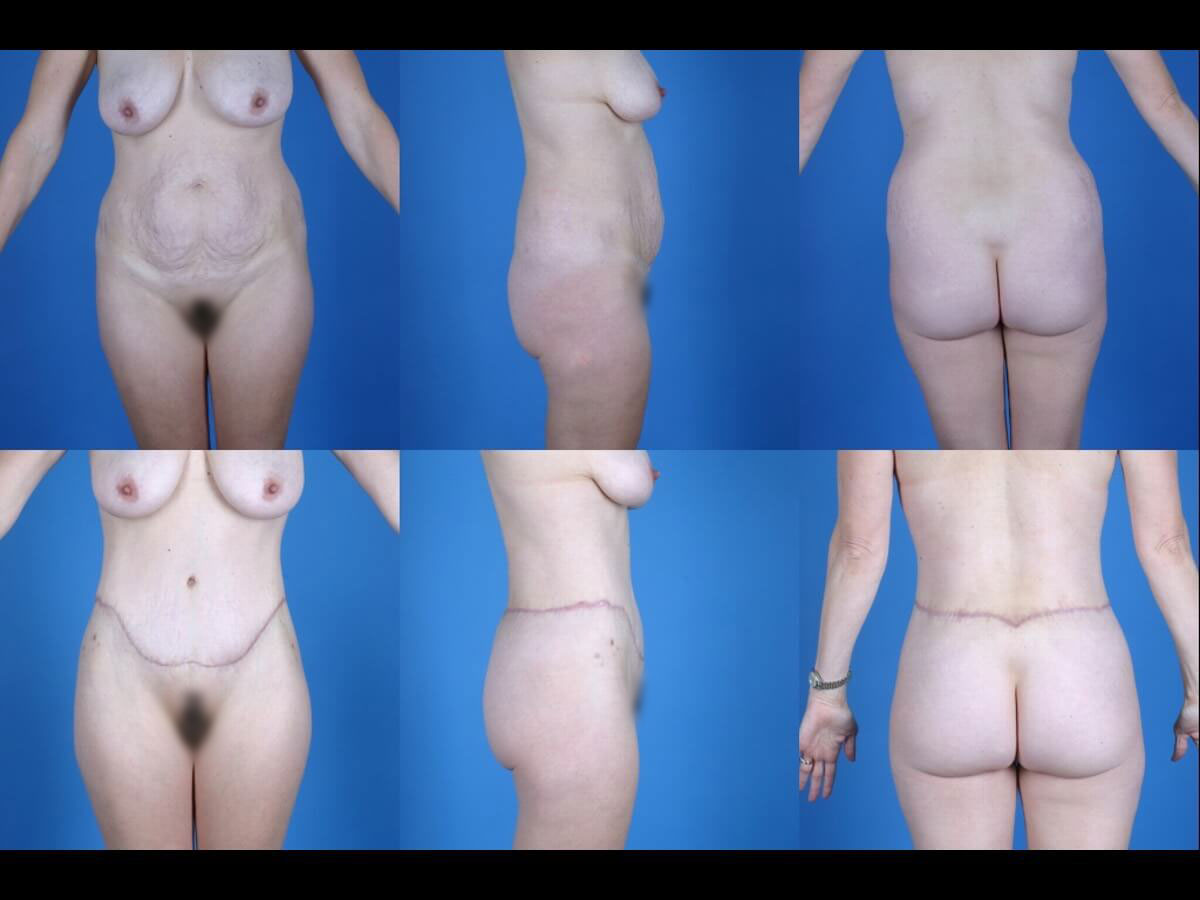
Description:
- This patient presented with a remarkable amount of loose skin of the belly, lack of waist definition, and flank excess. She is shown before and after a belt lipectomy.